6 Best Paint Sprayer for Trim Painting & Finish Work in 2021
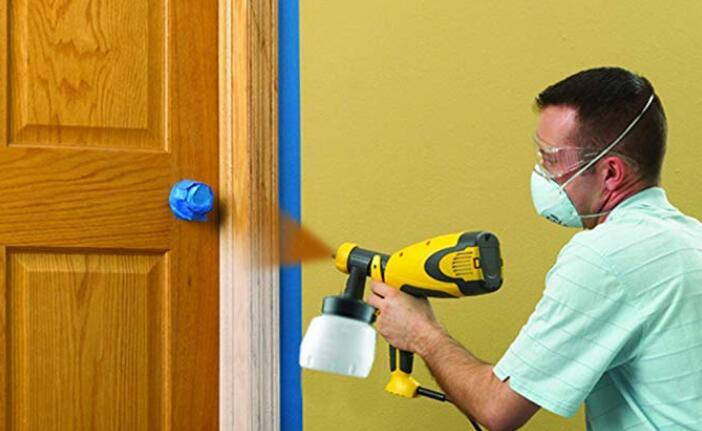
Paint sprayers are improved painting tools used in painting different surfaces and materials. They provide the most exquisite paint finishing as opposed to traditional tools like the brushes and rollers.
This article features the top 6 best sprayers for trim on the market today. They have different pressure settings for convenience when painting different surfaces, including that, require thin coating.
Table of Contents
6 Best Paint Sprayer for Trim
The 6 Top Pick Sprayers for Trim Reviews
#1. Hot Sale – Wagner 0528080 HVLP Paint Sprayer
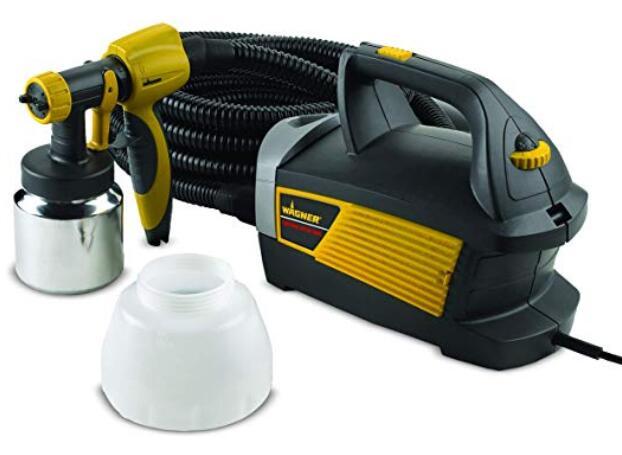
Whether you are a first-time user or a professional painter, using this tool is quite easy and convenient. The device utilizes low-pressure technology to enable the user to achieve the best and fine paint finish on every material.
It is versatile in use since you can use it for priming, painting, staining objects, door trim, and even woodwork projects. The presence of the two-stage turbine enables one to get the best finishing on delicate materials such as poly or the surfaces that have latex paints.
Controlling the amount of paint to come out of the nozzle is easy since the sprayer has varying spraying pressure ranging from slow to high pressure. It is light in weight for comfort when holding for long hours, or in case you have a long project you are working on. It comes with a 20 ft long hose so you can be able to move to a further area when spraying.
Brilliant Features:
- All including beginners can use the device.
- The sprayer is easy to clean since the parts can be removed.
- The hose is long for convenience when working from a long distance.
- One can control the spraying pressure with the provided pressure settings.
#2. Best Cheap – HomeRight Electric Spray Gun for Interior Trim
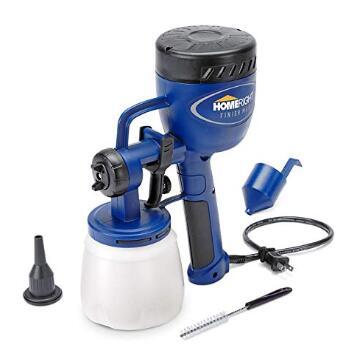
If you are looking for a simple electric sprayer to replace your brush or for convenience when working at DIY projects, get this great model. The sprayer is easy to use and provides smooth finishing on different surfaces and materials as opposed to the brush. It is versatile in terms of use and can be used to paint furniture, cabinets, and trim.
The adjustable settings allow you to choose the pressure of painting and also the amount of paint to apply to different surfaces. This kit is compatible with various types of paints, such as the milk paint, enamels, primers, and even the clear sealers.
Note that this sprayer is electric powered, and so, it can only be used in areas with electrical connections.
Brilliant Features:
- The gadget is versatile in terms of use.
- Cleaning the sprayer takes little time since it is detachable.
- The kit is light in weight to ensure your comfort when holding.
- The sprayer is sold with a 2-year warranty for quality assurance.
#3. Best Airless – Graco TrueCoat 360 Sprayer for Latex
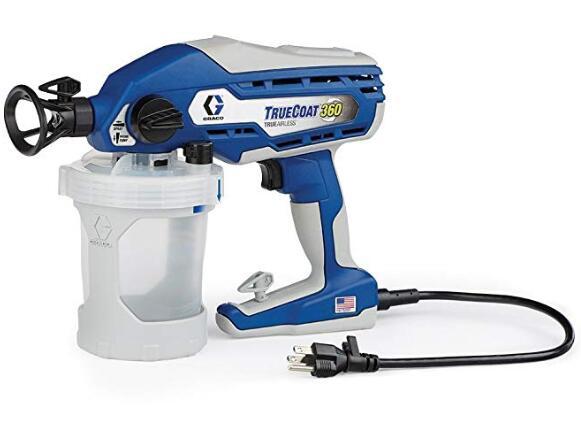
This is one of the most convenient spraying kits on the market that allows you to focus on your trim work since it does not easily clog from the paint. The kit allows for a 360-degree paint point such that you can paint from any direction. Its equipped reversible spray tip enables the device to preserve the tip from clogging with paint. Besides, the sprayers do not produce thin paint; hence, you can set it at high pressure when spraying.
There is no limit to the number of color paints you can use with this kit since it is cleanable. It is light in weight for comfortable holding when working for large painting projects. The kit comes with other accessories such as; a carrying bag in case you want to travel with it, 2 reversible spray tips to exchange when working, and also a manual for guidance.
Brilliant Features:
- This is easy to work with sprayer.
- Cleaning it takes less time as it is detachable.
- The sprayer can be used on projects that require more than one color.
- The sprayer comes with a carrying bag for secure storage and transportation.
#4. Best for Commercial Use – Magnum X5 Airless Paint Sprayer for Trims and Doors
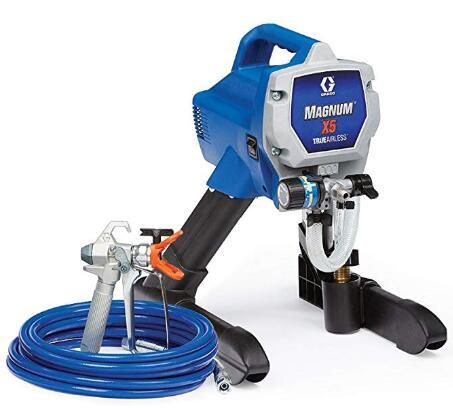
If you are looking for a spraying machine that you can easily control, then this is another reliable model to buy. It has pressure settings variations to choose when painting different surfaces and when using various paints.
The sprayer features a stainless steel piston pump that allows you to paint unthinned paints on different surfaces. You don’t need to invest in other painting devices, as it sprays directly from the paint bucket.
Cleaning it takes little time, and it is made of high quality materials that do not get damaged by any wetness. This paint sprayer is made with a long hosepipe that allows you to reach projects from afar. The RAC IV switch tip prevents clogging of the tip so you can focus on your work all the time.
Brilliant Features:
- The device is easy to use.
- It can be used on large projects.
- The sprayer is made of high quality and durable materials.
- The long hose pipe allows one to paint even from a distance.
#5. Best Adjustable – Wanger Double Duty Paint for Stain
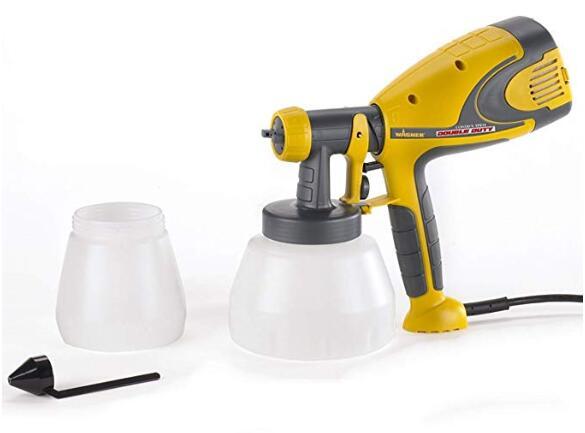
This is the easiest trimming paint sprayer on the market. Setting it takes less time, and the air turbine allows one to get the most exquisite finish on any surface being painted.
The paint flow pressure is adjustable depending on the material you are working on, or the kind of paint finish you wish to achieve. The presence of the three-cup positioning gets the work done fast as opposed to when working with other painting tools like the brush.
It is easy to use since all you need doing is squeeze it to release the paint. You can use it when painting furniture, cabinets, floors and many other materials. It is recommended for both indoor and outdoor use thanks to the superior HVLP spray gun that provides excellent spraying results in all areas.
Brilliant Features:
- It is quite easy to use.
- The device provides fin painted results.
- The sprayer can be used in painting a variety of materials.
- You can adjust the pressure of the paint release so you can control the process.
#6. Best for Multiple Use – Wagner 0529021 Paint Sprayer with 2 Nozzles for Detail Work
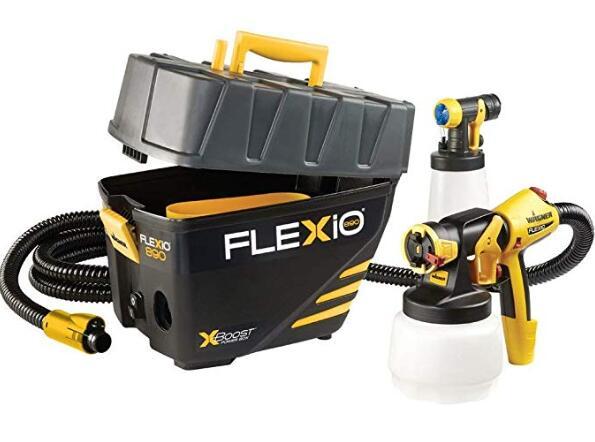
If you are involved in professional or commercial painting jobs, this is the right sprayer kit to buy. The device is versatile since you can use it for painting a wide variety of projects such as furniture, ceiling, walls, trimming, and other materials.
This sprayer is made in an ergonomic and lightweight design for easy transportation to different areas. The kit can work for large projects thanks to the two nozzles that provide fast and excellent finishing on the projects.
Therefore, you can spray horizontally or vertically to achieve the best results. The gun has an adjustable pressure level so you can regulate the amount of paint that can come out of the device. The package comes with carrying back for storing or carrying it with. The spraying parts are removable for easy cleaning, especially if you want to use different colors on the projects.
Brilliant Features:
- The kit comes with a carrying and storage bag.
- Cleaning is easy since the parts are removable.
- The pressure of the gun is controllable to achieve exceptional results.
- The sprayer is versatile and can be used to paint different materials and surfaces.
FAQs
#1. What Is the Best Way to Paint Trim & Doors?
- Step I: Prepare the Paint
Before you kick out, you should first and foremost prepare the paint. This entails thinning it to attain the right viscosity necessary for the surface you want to impact.
- Step II: Fill the Holes
Now move ahead to prepare the surface you want to paint too. To do this, you should fill any holes or cracks that may exist there. Put some putty onto these holes to give some consistent finish.
- Step III: Caulk the Surfaces
As part of the surface preparation, you should also caulk it. Caulking refers to making the surface waterproof by way of putting a sealant atop it. This makes the paint last longer after being applied.
- Step IV: Tape out Unwanted Areas
You should also tape out the unwanted areas. Obviously, it may not be that you want the paint to spill over to every other place. Taping ensures that you restrict the paint to those areas that have to be painted only. Use a masking tape of dirty cloth to do this.
- Step V: Spray the Area
Lastly, spray the area. Just trigger the nozzle and pass it over the area you have in mind repeatedly. If your painting task requires some styles, this yet again is the time to do so.
#2. How Do You Prepare Wood Trim for Painting?
- Sand the wood trim. Commence the exercise by sanding the wood trim. Use sandpaper to vigorously remove any spikes or protrusions that exist atop the surface of the trim.
- Dust the sanded area. Take the next step to dust the area you have sanded. This requires the use of an old paintbrush. Put in excessive force to be able to manage a better outcome overall.
- Vacuum the surface. Lastly, you should also vacuum the surface. The object is to eliminate the minutest dirt and dust particles. For this role, you might need a brush attachment or a vacuum cleaner.
- Wipe off the surface. After you are through with the steps above, you will have to wipe off the surface preferably by the use of a damp or tack cloth. Wiping off the dirt makes the surface easier to impact with the paint later on.
#3. Do You Spray Trim or Walls First?
The trim first. Thereafter, tackle the ceilings and then the walls. That way, you will minimize any likelihood of soiling the surfaces or encountering too much confusion. Do not forget to tape out the parts you do not impact at any given time to allow for better impacts.
#4. How Long After Painting Trim Can I Tape It?
24 hours it is! This is to give the paint sufficient time to dry out. Doing so earlier might leave out ugly marks that are definitely not great to your eyes. Also of utmost importance is the need to apply the tape that is exclusively suited for the job.
#5. What Kind of Paint Do You Use on Trim?
Of all the paints that are available, it is the semi–gloss that is better suited for the job. This kind of paint delivers some sheen and is also relatively easier to keep clean at a later date. What’s more? This kind of paint is applicable in just about every other place or area of a typical home.
#6. Is Oil Based Paint Better for Trim?
YES, it is! Unlike its water-based counterpart, the oil-based paint lasts longer, does not absorb water too easily, and has the ability to take more abuse with time in ways that are better than the walls. Simply put: this paint lasts longer and yields higher returns on your investments.
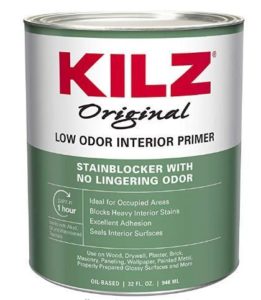
Buy the Cheap Oil Base Paint for Trim Painting
#7. Do I Need Sand Trim before Repainting?
YES, you have! This is needful for several reasons. You need to make it possible for you to achieve consistent outcomes. That can only happen if you sand off the trim. Then again, you have to eliminate any peel offs or other issues that may impede the smooth flow of the paint when applied.
#8. Should I Paint My Oak Trim White?
Oak trims are better left in their natural colors. Nonetheless, there is absolutely no evil in painting the same white. The white color absorbs some light, has the impact of brightening the spaces and makes the oaks appear larger than their actual sizes, to name but a few!
#9. Should I Paint Trim Before Installing?
NO! Instead, you should install first before painting. If you opt for the former, you will have to redo some parts as the paint may be peeled off in the course of installations. As a matter of fact, you are required to wait until it is all systems go, before proceeding.
Conclusion
Get the best trimming, or painting result with these sprayers. They can be used on a wide variety of materials and surfaces since one can easily control the amount of paint produced by the nozzle.
Note that these sprayers can only accommodate a given amount of paint, so check out the number of gallons it can hold before buying it, especially if you are involved in commercial painting jobs.
Resources:


Leave a Reply
You must be logged in to post a comment.